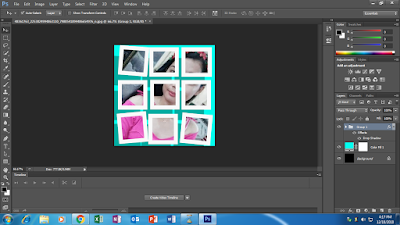
Change A Photo Into A Collage In Photoshop
Hey Everyone! On this Website, I'll show you how to easily turn your image into a simple square photo clash using photoshop. So let's get started!
You must follow the steps from here:
So, Here is the image I'll be using. Fist thing you do is to crop the image into square.
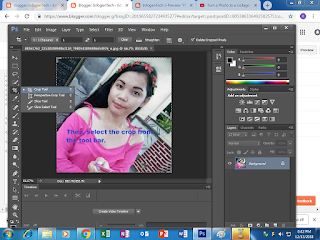
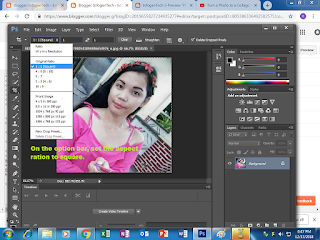
Photoshop add an unusual square cropping board around the image.
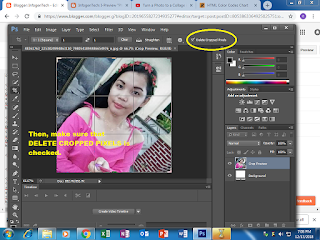
Then, drag the crop handles to resize the boarder around the subject. If you're working on a portrait, try to keep the image facial features within the center squares. To crop the image press ENTER
To divide the image into smaller squares, go to the view menu on the menu bar and choose NEW GUIDE.
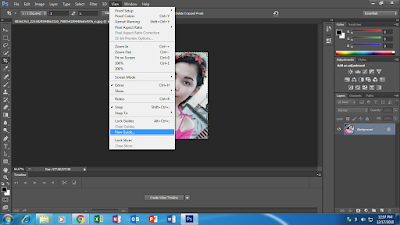
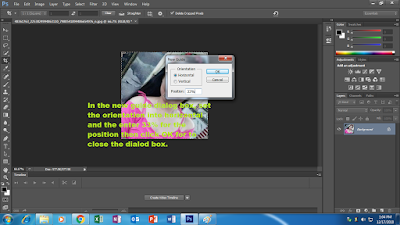
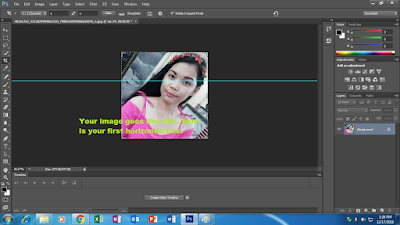
To put the next horizontal line, go back to the view menu and choose again the NEW GUIDE, the this time, enter the 66% for the position. Click OK to close the dialog box.
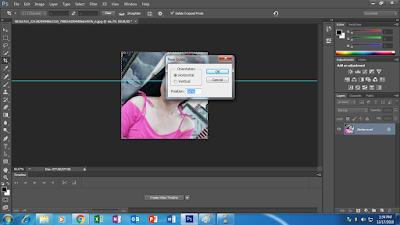
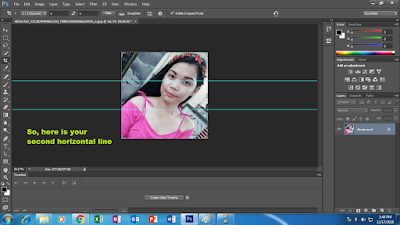
To the second guide, go to the view menu again.
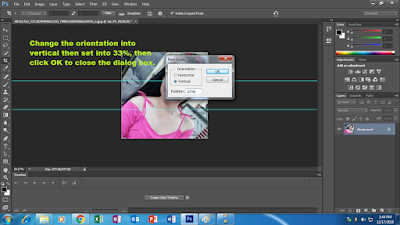
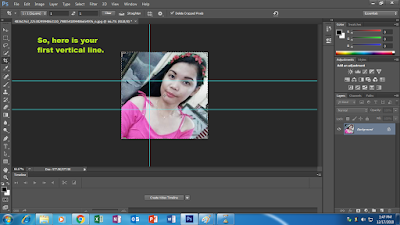
And finally, go back to the dialog box and set the vertical orientation into 66% then click OK to close the dialog box.
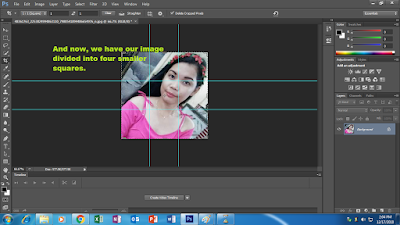
We need to select each squares and copy to down layer.
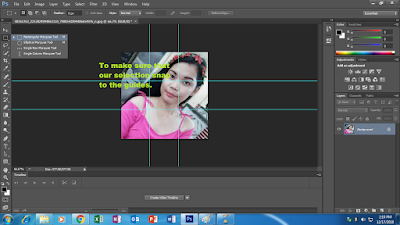
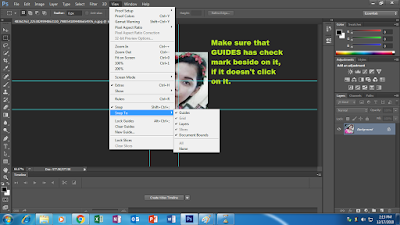
Go up to the VIEW menu, select SNAP TO.
We will start the square on the upper left. Click and drag on the selection line around it, if you followed the last step, the selection outline should snap to the guides.
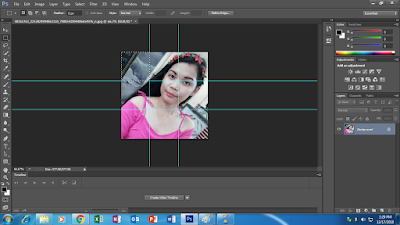
To copy the square to its own layer, go up to the layer menu.
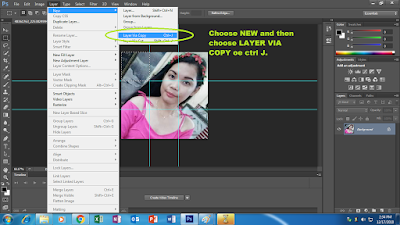
In the layer's panel, we see that photoshop has placeda copy of the square on a new layer above the image.
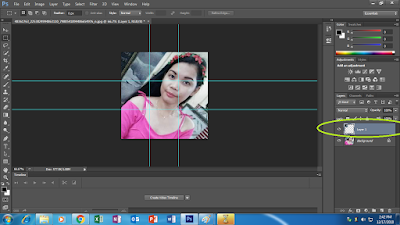
Before we can select the second square , we first need to reselect the image.
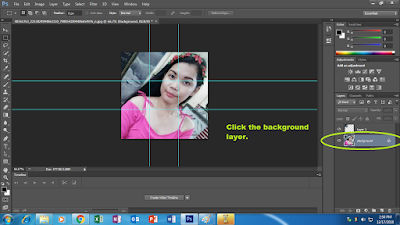
This time,, you select and copy a new square. You need to reselect the background layer first.
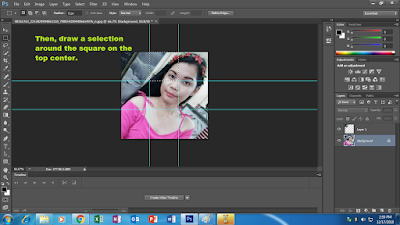
To quickly copy it to a new layer, pres CTRL J and back to the layer's panel.
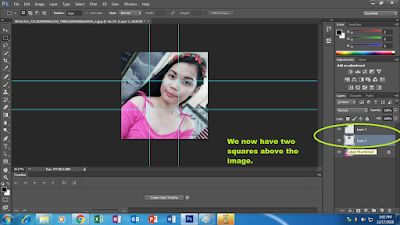
To select and copy the remaining squares, just repeat the same steps. First, click on the background layer to select the image. Draw a selection outline around the square and then press ctrl J to copy a sqaure to a new layer and continue selecting and copying the squares until I selected each one and the layer's panel.
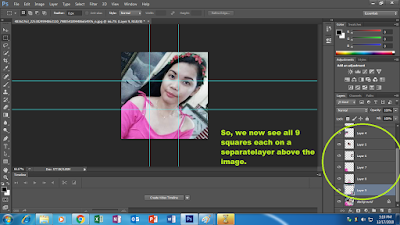
We don't need the guides anymore. So let's hide them by going up to the view menu.

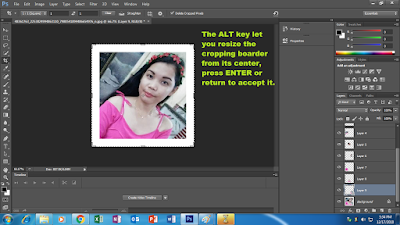
In order to move and rotate the image, select the crop tool from the tool bar. Press and hold the alt key and then click and drag any of the crop handles outward the image.
By default, photoshop fillsa new space with white but let us fill it with black. in the layer's panel, select the background the go up to the EDIT menu and choose FILL.
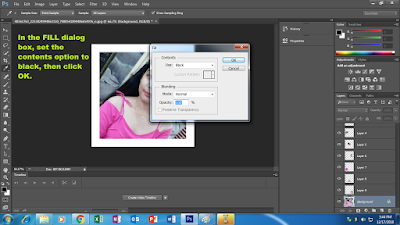
The image now appears on black background. At the moment, we can't really see our squares, so let us make them more obvious, and to make them look like separate photos. we will have stroke around on it. we will start by adding a stroke to one of the squares and then we will copy and paste it to the others. on the layer's panel, select the top layer. The one that holds the square on the upper left and click the layer styles icon at the bottom of the layer's panel.
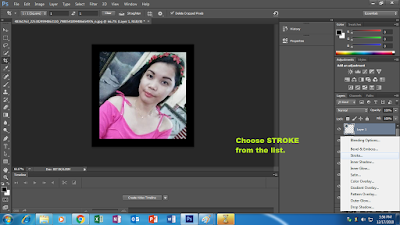
In the layer style dialog box click the color swatch.
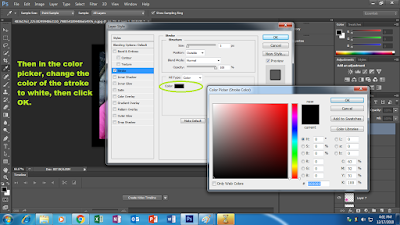
Back to the dialog box, set the position of the stroke to INSIDE and adjust the size of the pixels.  .
.
And now , we have a boarder around one of the squares.
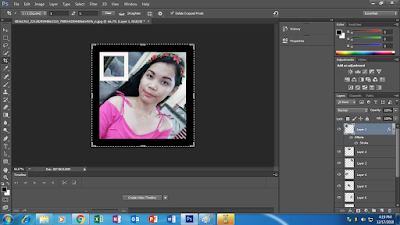
Back on the layer's panel, we see your stroke listed below the layer, to quickly apply the same stroke on the other layers. Right click on the top layer and then choose copy layer style from the menu.
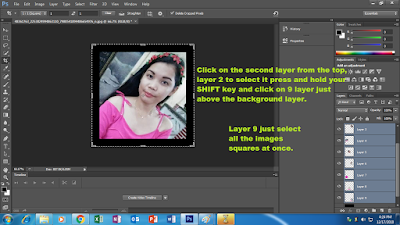
Right click on any of the selected layers.
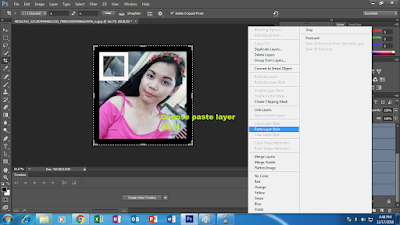
And just like that. Photoshop pastes the stroke on to the other squares. To create more using photoshop we will move and rotate using photoshop free transform.
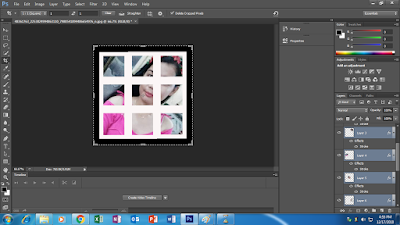
Select the move tool on the tool bar. On the option bar.
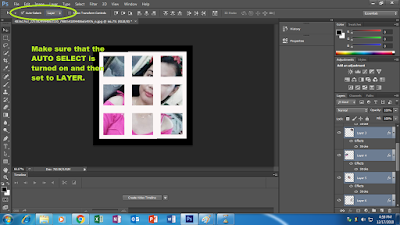
This will lead us easily select each square just by clicking on it. Click on the square in the upper left to select it,then go up to the EDIT menu and choose FREE TRANSFORM. Photoshop places a free transform box and handles around the square.
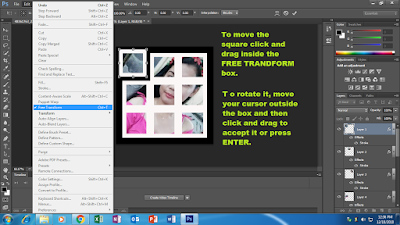
And the first square has been move and rotate it in the place. To move and rotate the other squares just repeat the same steps. First click the square and then press the CTRL T to quickly choose the FREE TRANSFORM, move the square into place and then rotate it in the position, then press ENTER.
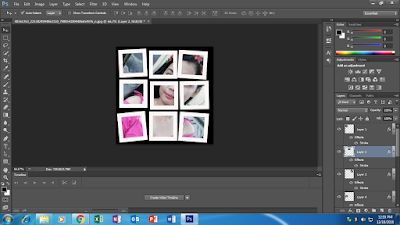
At this point we've created the main effect but there's a couple more things we can do, one of them is that, we can change the background color. And to do that, we use a solid color fill layer.
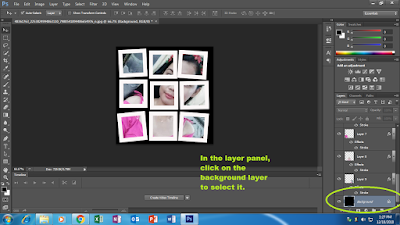
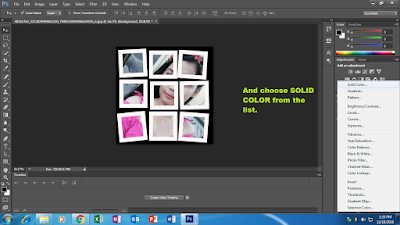
Then click the new fill or adjustment layer icon.
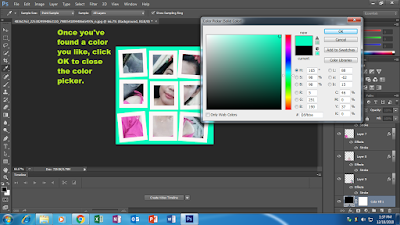
In the color picker,choose a new color for your background.
Finally, let us finish the photoshop effect by adding a drop shadow behind the squares. To add the shadow to all of the squares, add once will first place them into a layer group. Click on the top layer, layer 1 to select it the press and hold your SHIFT key and click the layer directly above the fill layer, layer 9.
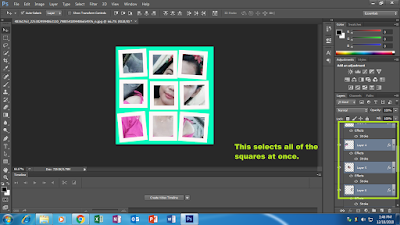
Go up to the layer menu and choose group layers. And back to the layers panel all of the squares have them place into a new group.
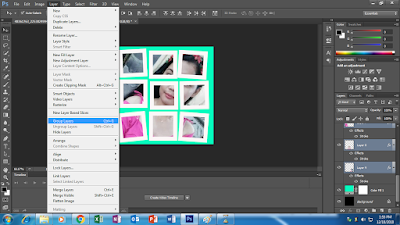
You can twirl the group open or close by clicking the arrow next to the groups name. To apply a drop shadow. Click on the layer's icon and then choose drop shadow from the list.
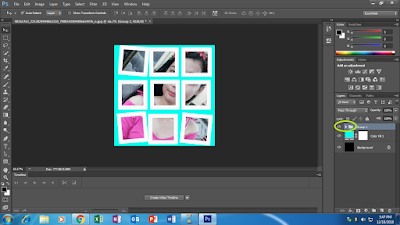
To apply a DROP SHADOW. Click on a layer's Icon and the choose drop shadow from the list.
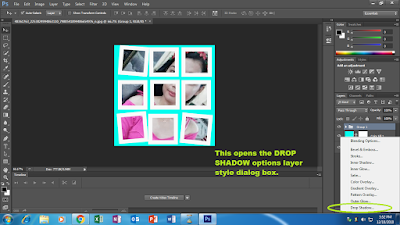
You can adjust the angle and distance of the shadow from here.
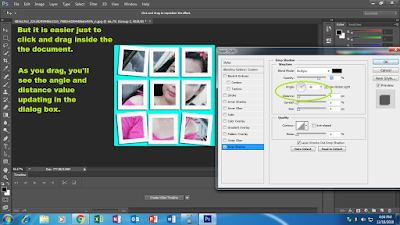
Once you've set the angle and the distance, go back to the dialog box and adjust the size value to soften the shadow edges.
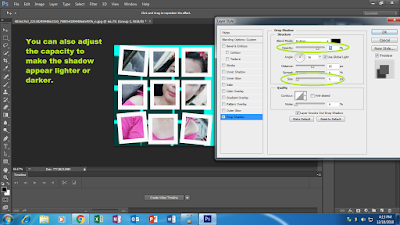
And there we have it!!...that's how the easily turn an image into a simple square photo clash in photoshop.
